


- Web templates
- E-commerce Templates
- CMS & Blog Templates
- Facebook Templates
- Website Builders
FAQs
General Tutorials
Featured templates
og体育首页ONE Subscrioption


This tutorial shows how to manage "TM Mosaic Products" module in Prestashop 1.6.x. template.

Go to Modules and Services in the admin section. Search for TM Mosaic Products module. Configure the module

We can see the product images and banner. Category section shows product categories. You can add products from selected category only.

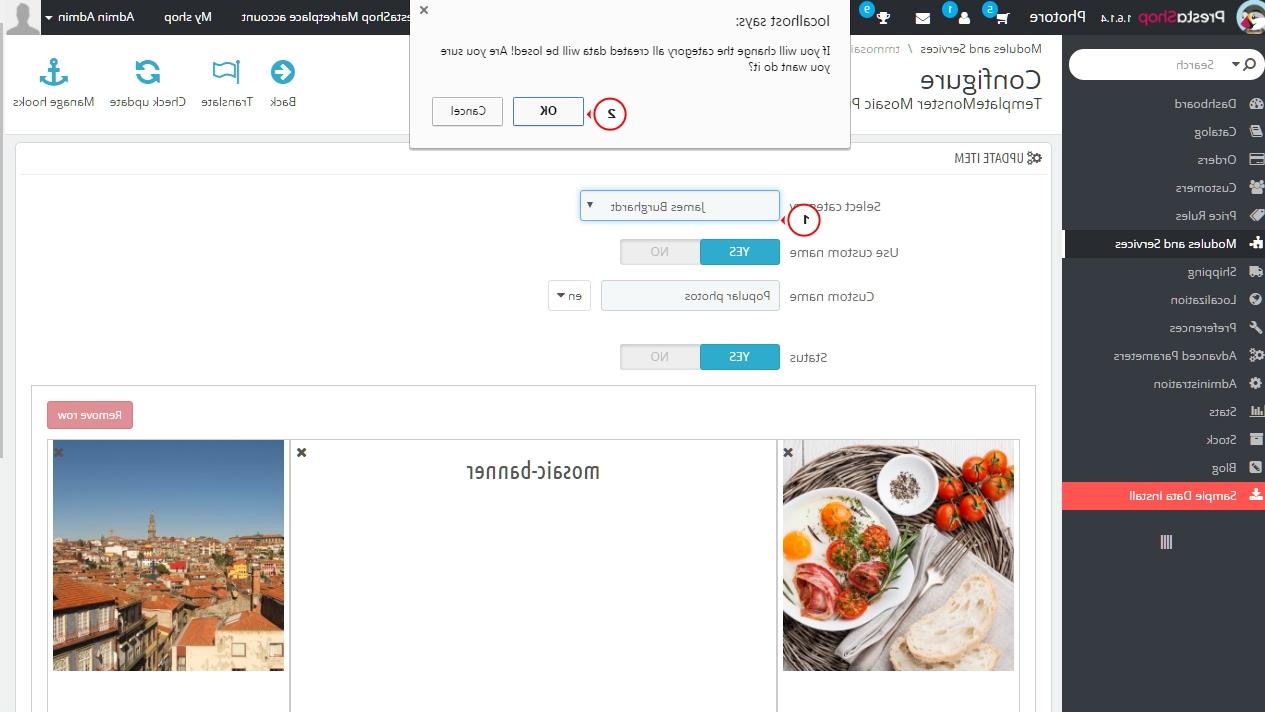
Let’s select another category. Current data will be removed.
Set status to Yes in order to enable the block. Add a custom name. Let’s add a row.

Select a desired layout.

Block has several sections. Click on particular section in order to add a content. You can add Prestashop products or Mosaic banners.

Let’s add a product. We can see product images assigned to the product category we have selected on step 3.

Select an image. It will be added to appropriate section. Perform the same actions to the rest of sections.

Let’s add a mosaic banner to the central section. Click on appropriate section and select Banners.

Click on the image. It will be added to the block.

Save changes and refresh the home page. We have changed products and added default banner.

Text "Popular Photos" is a custom name. You can change them in block settings. Text "Category description – new items" is a category description. You can go to Catalog – Categories section, locate appropriate category and change text.

Let’s modify Mosaic banner. Click on edit.

Select the image. Change title. Link can be set in URL section. Change text. You can select Source code in order to edit html content.

Save changes and refresh the home page. We have changed the Mosaic banner.

You can add several rows to the same blocks. You can have several blocks and Mosaic banners as well.
Feel free to check the detailed video tutorial below:
Prestashop 1.6.x. How to manage “TM Mosaic Products” v 2.0 module